What's Included?
Using MotoPress Content Editor to stylize your content
Once MotoPress has been activated on your website, a “MotoPress Content Editor” button will be added above your post editor. This will still be displayed if you have disabled the visual editor through your WordPress profile.
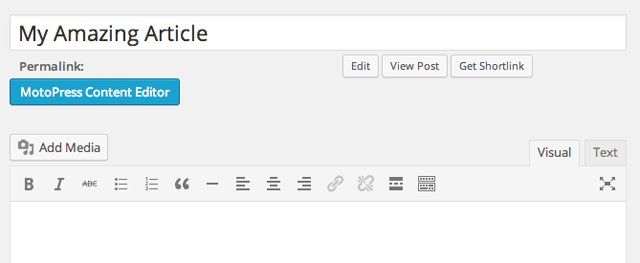
When you click on the button, the MotoPress interface will load. A loading icon will be briefly displayed for a few seconds while the interface is loading.

If your post is blank, you will initially be presented with a blank canvas. If not, your content will be loaded e.g. images and text.
At the top of the interface is an update button to save your work, a preview button to see what your content looks like, and a close button to enable you to return to the regular WordPress post editor interface. There is also a help icon that displays a lightbox with several tutorial videos.
Along the left side of the interface is a list of the content modules that can be used to add content to your post or page.
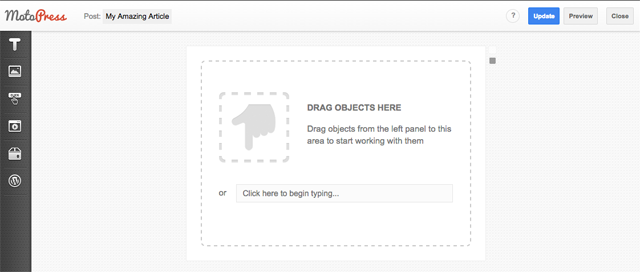
Modules are split into six different categories. Once you have found a module you like, you simply drag and drop it into the canvas area.
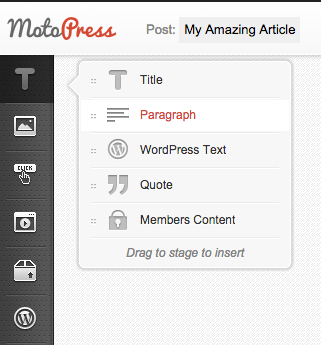
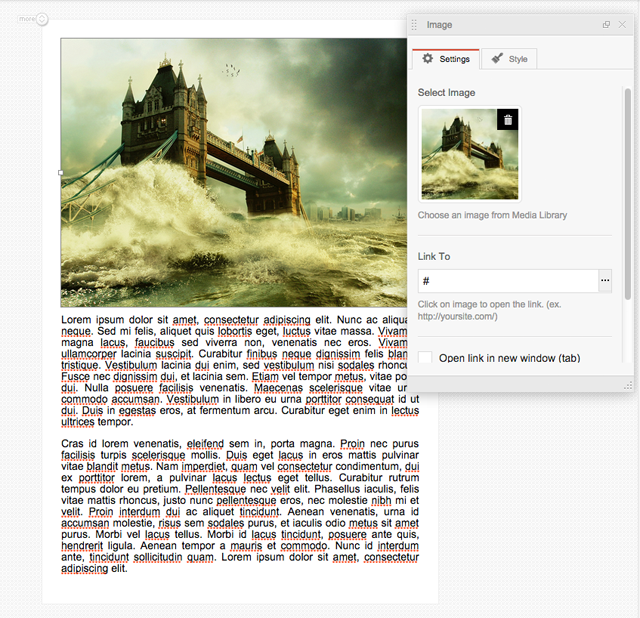
A unique settings box is displayed with every module. It can be minimized or closed if you feel it is getting in the way.
The box allows you to customize the module as you see fit. For example, with the image module you can change the alignment of the image and make the image link to a specific URL. For a post grid, you can choose how many posts are displayed and how many columns those posts are displayed in.
Each settings box also has a style tab. This allows you to define the margin around the module and link to a custom CSS class.
One of the main features of page builders is the ability to place feature rich content into columns and rows.
I have tested several drag and drop page builders for WordPress. Most page builder plugins allow you to add new columns and rows using buttons. For example, you would click the row button to add a new row and then drag a module to that row.
MotoPress does things differently. When you drag a module over to the canvas area, a blue box will appear in the area in which you drag the module.

If you drag a module to the left or right hand side of another module, it will insert the module as another column. If you drag the module above or below another module, it will be added as a row.
This seems like an insignificant feature of MotoPress, however it allows you to create complex table structures using modules very quickly and very easily.

There is not any learning curve for MotoPress. With other page builders, it can take 20 to 30 minutes to understand how to use the plugin correctly; however MotoPress is self-explanatory, therefore you will be able to use it confidently right away.
10% Discount
Click below and enter webdesignerpad as a discount code to get 10% off.
Discount Code: webdesignerpad